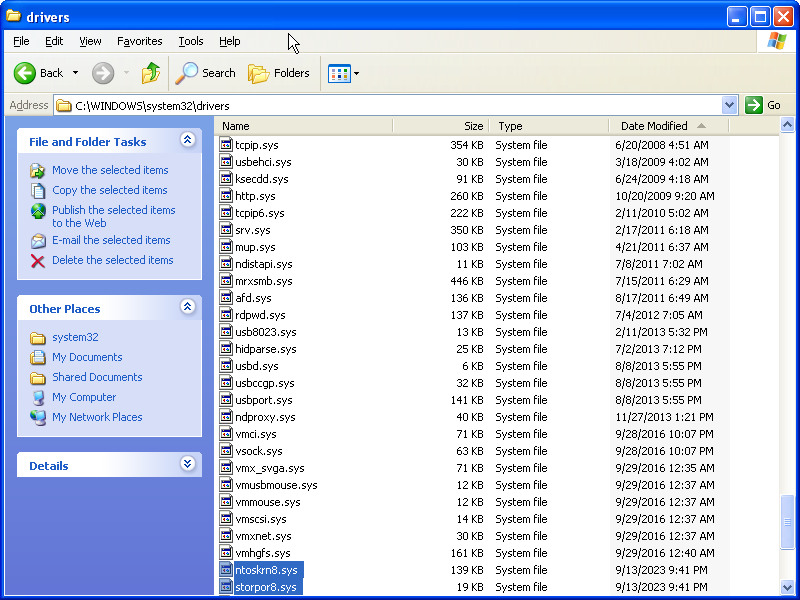
Step 1: Building and Installing NTOSKRNL_Emu
This is the very first step, before you do anything. You need to build the files ntoskrn8.sys and storpor8.sys. These files will be collectively referred to as the Emu dependencies.
Drivers written for newer Windows systems are dependent on certain features that are only available in those newer versions of Windows. If you attempt to install the unmodified drivers in older versions of Windows, the driver may fail to install, because the new features are not available. The driver effectively needs to be backported. As part of any driver backporting process, you may need to redirect the drivers from the system’s default ntoskrnl.exe and storport.sys to the Emu dependencies. By redirecting the affected drivers to ntoskrn8.sys and/or storpor8.sys, you cause the driver think that the new features are available on an older version of Windows.
Goal
There should be two files built by system: ntoskrn8.sys and storpor8.sys.
Requirements
- Any Windows system that can run the Windows 7 DDK
- Windows 7 DDK v7.1.0 (download)
- ISO mounting capabilities
- Windows 7 and older requires a program such as WinCDEmu.
- Windows 8 and newer can mount ISO files by double-clicking.
Instructions
Install Windows 7 DDK v7.1.0
In order to build ntoskrn8.sys and storpor8.sys, you need to install a driver development kit. These are a collection of specialized tools designed for developing device drivers for Windows. You will be using them to build the Emu dependencies.
Note that this does not need to be installed on the system that is designated to install backported drivers. The driver kit can be uninstalled after the files are built.
- Download the Windows 7 DDK v7.1.0 ISO file. This file is named GRMWDK_EN_7600_1.ISO on your system.
- Mount GRMWDK_EN_7600_1.ISO.
- Run KitSetup.exe.
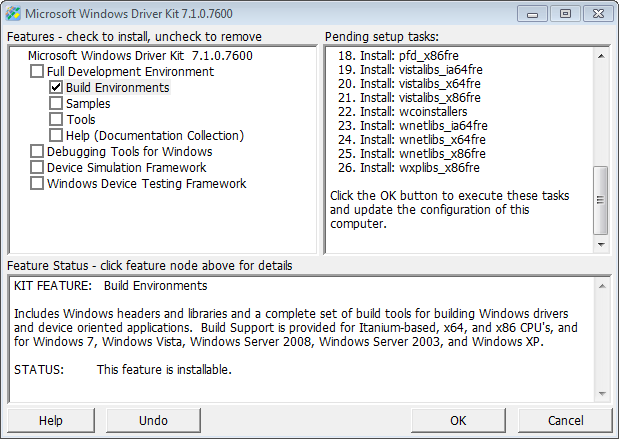
- Check Build Environments and click OK and install to the default directory. Anything else is extra.
Fix Windows 7 DDK headers
The original header files will prevent the Emu dependencies from being built correctly. You will need to fix these header files manually.
- Open up
C:\WinDDK\7600.16385.1\inc\ddk\ntddk.hwith a text editor, such as Notepad. - Search for
typedef ULONG NODE_REQUIREMENT. This will find the following lines:#if (NTDDI_VERSION >= NTDDI_WIN2K) typedef ULONG NODE_REQUIREMENT; - Replace the lines with:
#if (NTDDI_VERSION >= NTDDI_VISTA) typedef ULONG NODE_REQUIREMENT; - Repeat, but for
C:\WinDDK\7600.16385.1\inc\ddk\wdm.h.
Download NTSOKRNL_Emu’s code
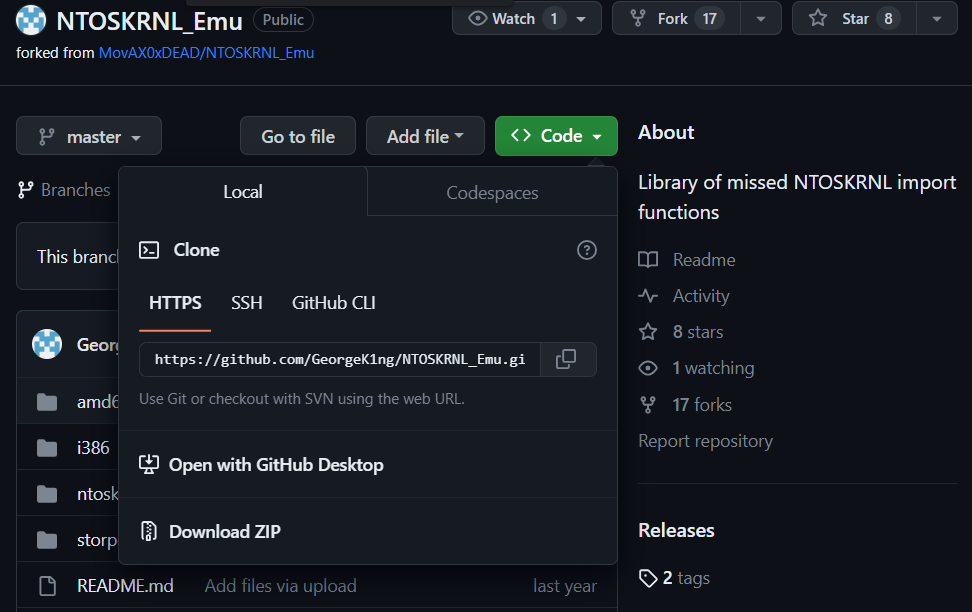
- Go to GeorgeK1ng’s NTOSKRNL_Emu repository. The files from MovAX0xDEAD’s original repository are missing some features that have been implemented in GeorgeK1ng’s version.
- There is a green button labeled Code. Click it for a dropdown menu.
- Click the entry labeled Download ZIP.
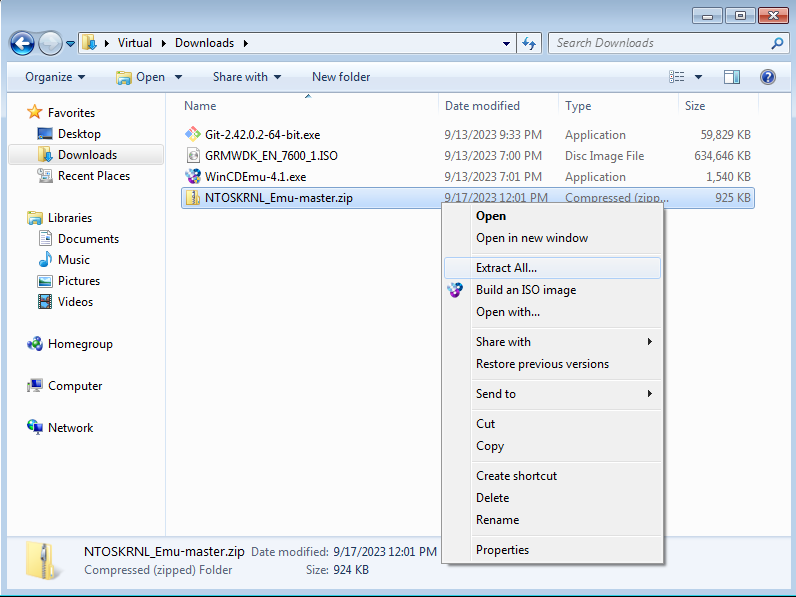
- Extract the files from that ZIP file.
Build NTOSKRNL_Emu
- Open up File Explorer on Windows. Navigate to
C:\ProgramData\Microsoft\Windows\Start Menu\Programs\Windows Driver Kits\WDK 7600.16385.1\Build Environments.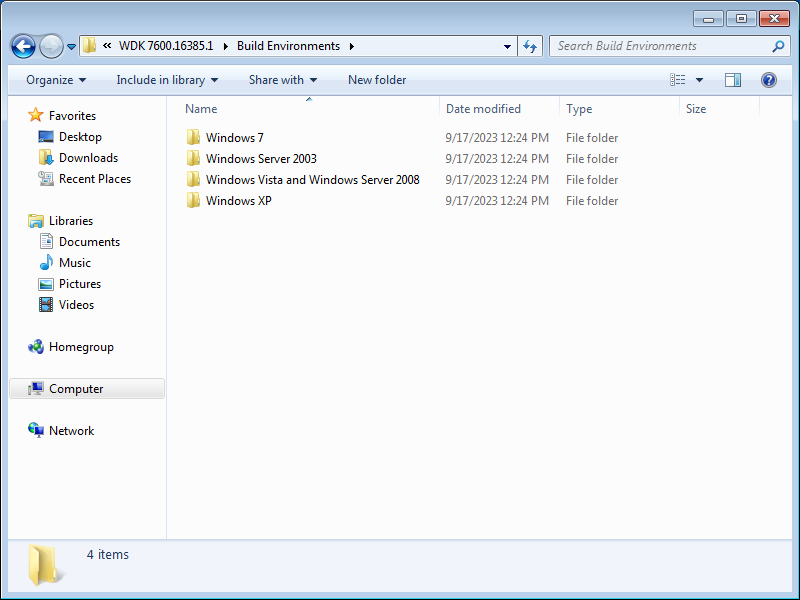
- Select the folder that matches the OS of the system that will install backported drivers.
- Windows 7
- Windows Server 2003
- This includes Windows XP Professional x64 Edition, because it is based on the same code as Windows Server 2003
- Windows Vista and Windows Server 2008
- Windows XP
- Open up the Free Build Environment that matches the target system. Do not choose the Checked Build Environment! Checked Build Environment will build the Emu dependencies in debug mode, making them slower, and likely won’t run on systems without the Driver Development Kit installed.
- ia64
- Only for systems running the very rare Intel Itanium CPU architecture. For 64-bit, you probably want x64.
- x64
- For 64-bit Windows systems.
- x86
- For 32-bit Windows systems.
- ia64
- Navigate to the folder where the files of the ZIP were extracted.
- Type
bld. Hit Enter.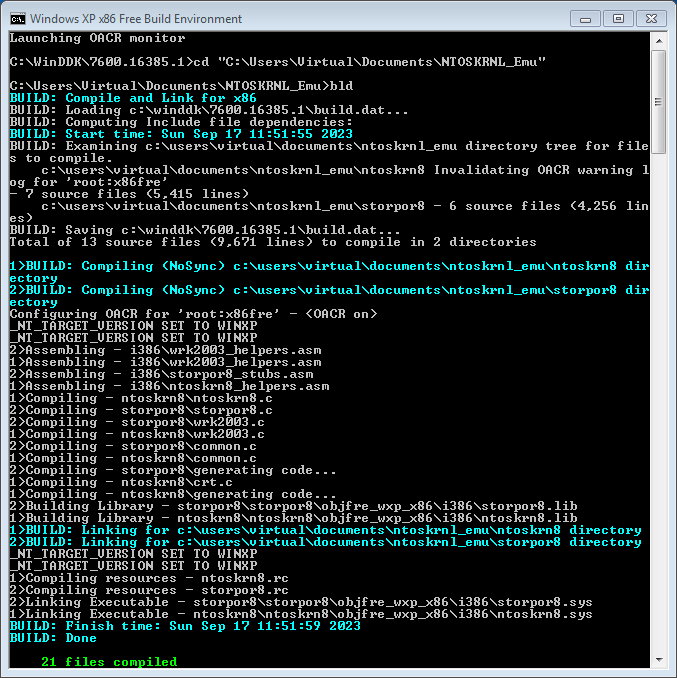
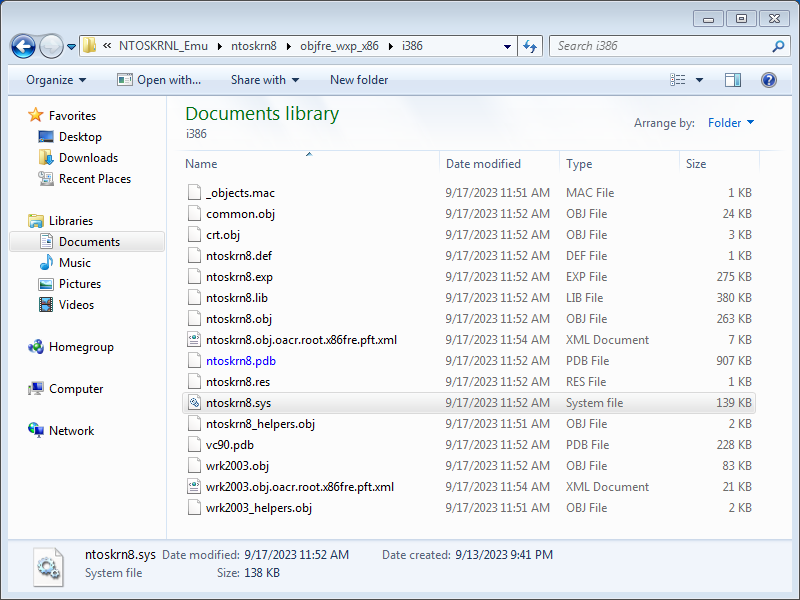
- Once the build has completed, enter the ntoskrn8 folder.
- Inside, there will be a folder starting with the name objfre_.
- The second part will be the name of the target system.
- win7 = Windows 7
- wnet = Windows 2003
- wxp = Windows XP
- The third part will be the CPU architecture of the target system.
- The second part will be the name of the target system.
- Enter the folder and the folder inside.
- Locate a file named ntoskrn8.sys. Move it to a more convenient place.
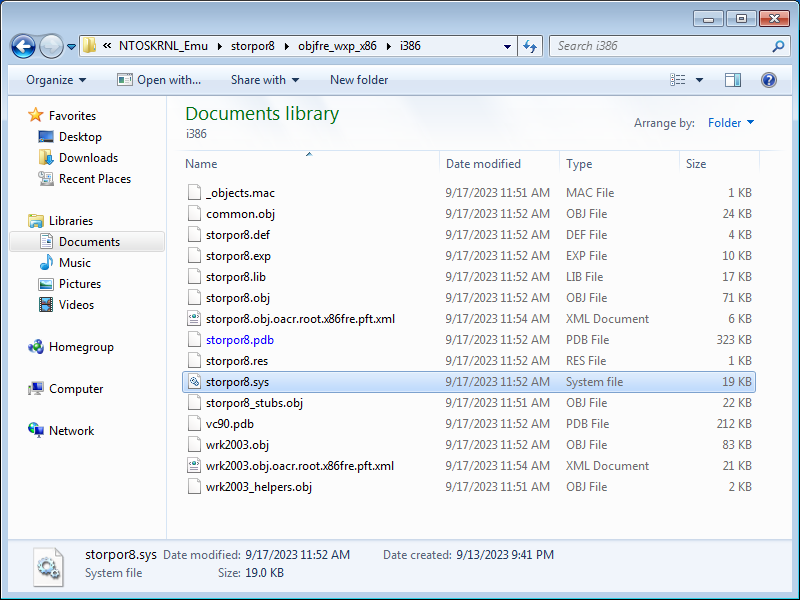
- Repeat steps 6 to 9, but for the storpor8 folder and the storpor8.sys file.
Install NTOSKRNL_Emu
The files will need to be installed manually before any backported driver can be installed.
- Locate ntoskrn8.sys. Transfer this file to somewhere accessible to the target system, such as a flash drive or a network-accessible folder.
- In your target system, move the file into the folder at
C:\Windows\system32\drivers. - Repeat steps 1 and 2 for storpor8.sys.
